File Management

This section covers the essential digital skills of downloading and uploading. We then discuss managing the files on your computer.

Section 1: Downloading

What is downloading?

Downloading is when you copy data (e.g. a file, programme, image, etc.) from one computer to another. Typically, files are downloaded from the internet onto a computer.

Think of it like buying something from a shop (the internet) and bringing it back to your house (your computer). 

How do you download?

To download something, you will need to click a download button. This is how you give consent for the website to begin downloading the file. Sometimes downloads are free, at other times you have to pay for them. Again, think of it like a shop!

The download button:

Download buttons can look something like these. 

What does downloading something look like?

The best way to get comfortable with how a download works is to try it yourself! First, watch the GIF in below. Then click the download button below that. You should see the download start in the top right corner of your browser.


Check out this GIF to see where your file will be once you’ve downloaded it.

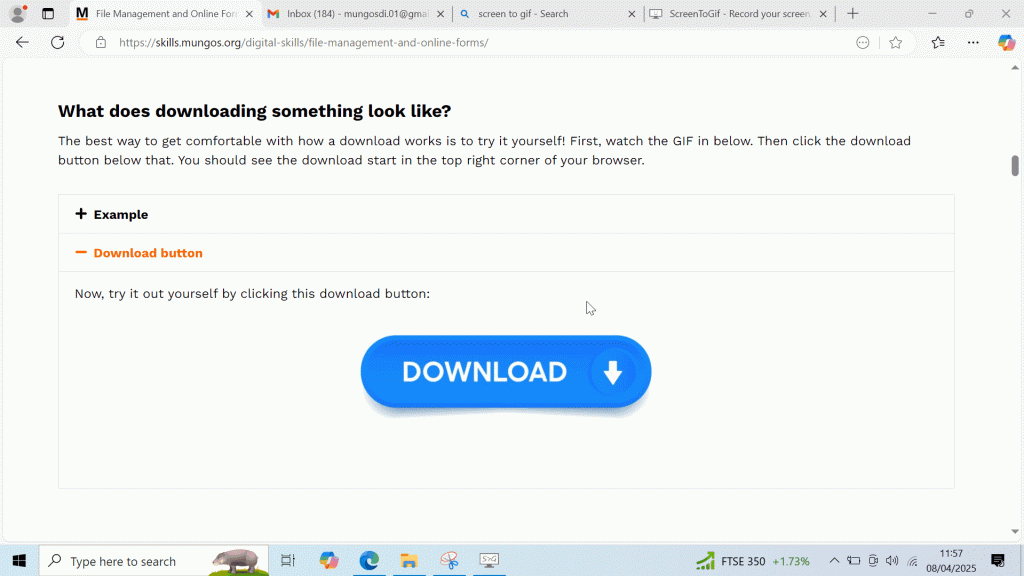
Now, try it out yourself by clicking this download button:Download Badge

Warning: Fake Download Buttons

There are many fake download buttons out there, especially on dodgy websites. If the above image makes you a little nervous, that’s good! Clicking a dodgy download button is a great way to get a virus.

You need to take extra care to make sure you’re clicking on the right button. There is an exercise below to practice your skills at spotting the right download button. 

Check out our Online Safety page for more information about the risks.

Section 2: Managing your files

What is this all about?

On your computer, you should have lots of different files.

Some of these are essential, like your personal documents, housing agreement, or password log book. Others will be things you don’t need but want to keep, like course certificates, past work, and photos. The rest are files that just pile up over time. Things like downloading a brochure, or a map of a place you want to visit. 

To be able to separate the needs, wants, and stuff, we need a system. We will show you in a moment a simple system for organising your files that means you won’t lose things, and won’t really have to think that much either. 

First, let’s talk about file types.

File types

Files come in several different types. An image (JPG) is obviously quite a different thing than a song (MP4) or a document (docx/ pdf). Here is a list of all the main file types and what they’re about.

Music

Mp3

Documents

PDF - Docx - Pptx - Xlsx

Video

Mp4

Images

JPG - PNG

The different document types:

  • .PDF – a pdf file is probably the most commonly used file. It is used for sharing un-editable documents, such as your CV, payslips, or tenancy agreement
  • .DOCX – an editable document. This requires a programme such as Microsoft Word to use and edit it.
  • .PPTX – a presentation document. This is especially for professional contexts.
  • .XLSX – a spreadsheet document. This is especially for professional contexts, but also could be useful for tracking things like expenses.

The File Manager

The file manager is an application A type of software designed to perform specific tasks or functions, such as writing documents, browsing the web, or playing games. which is used to store files.


The icon to the left is how it looks on Windows 11, but on other computers it may look different. In general, it always looks like some variation of a folder.

Let's explore

Using your computer, locate the file manager on the menu bar at the bottom of your screen. Then, find the following elements in the list by clicking on each and watching the GIF. 

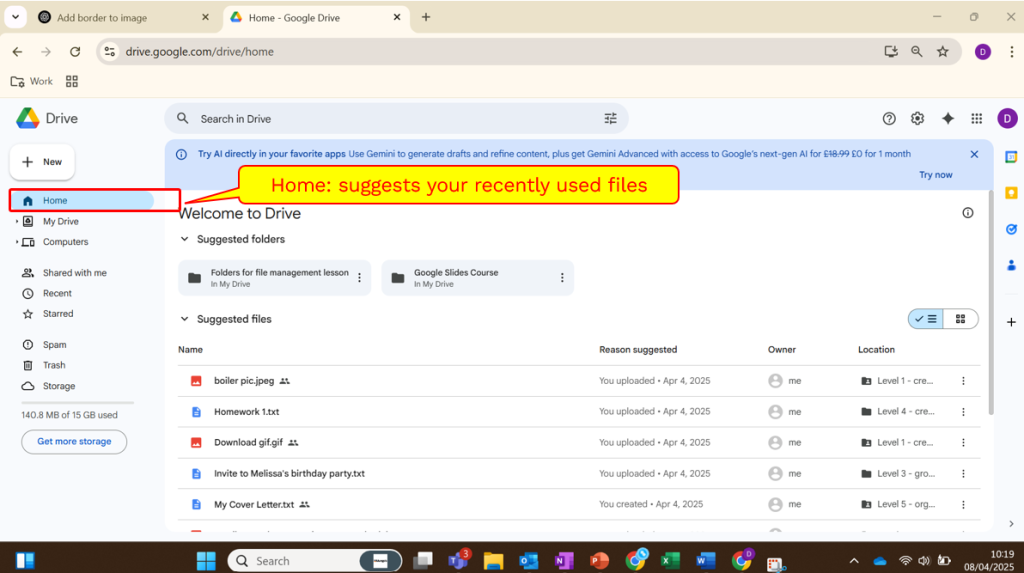
When you open the file manager, you will be taken to your ‘Home’ page

Home is the main overview of all the sections. We will cover them each, one by one.

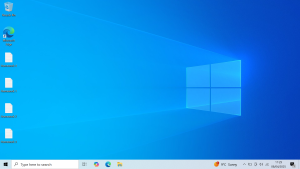
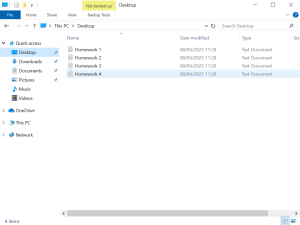
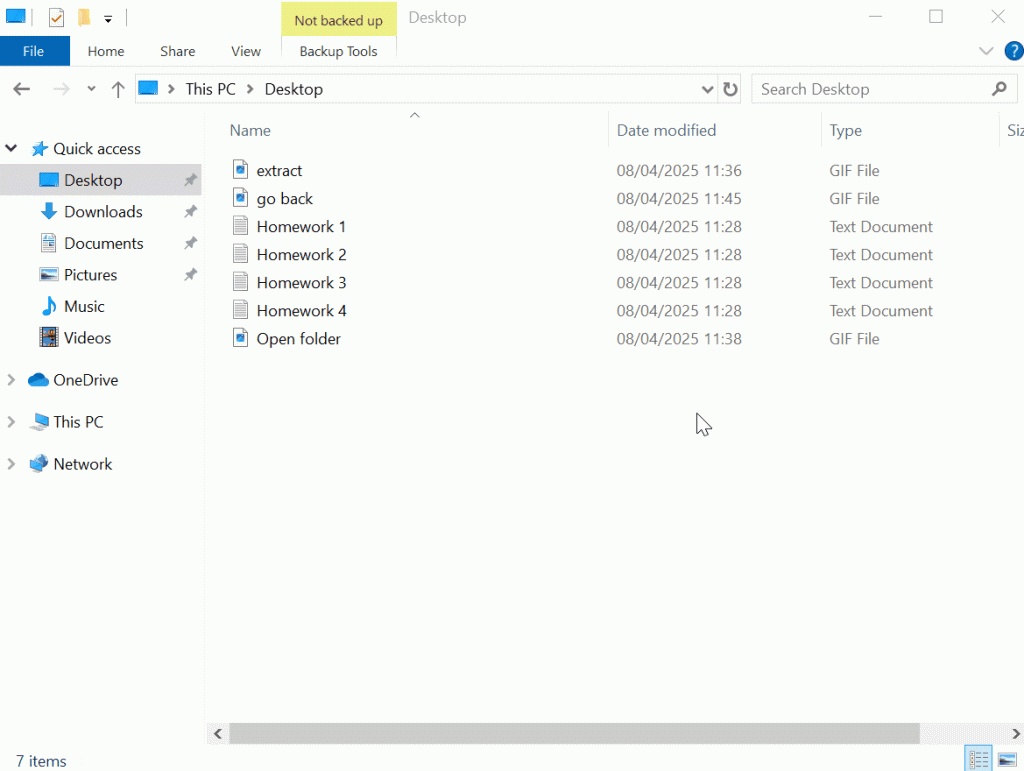
The desktop is the folder behind the background screen of your computer.

Compare the two images below. One is the desktop itself, and the other is the folder which ‘sits behind’ the desktop. As you can see, both have the same four files in them (Homework 1-4).


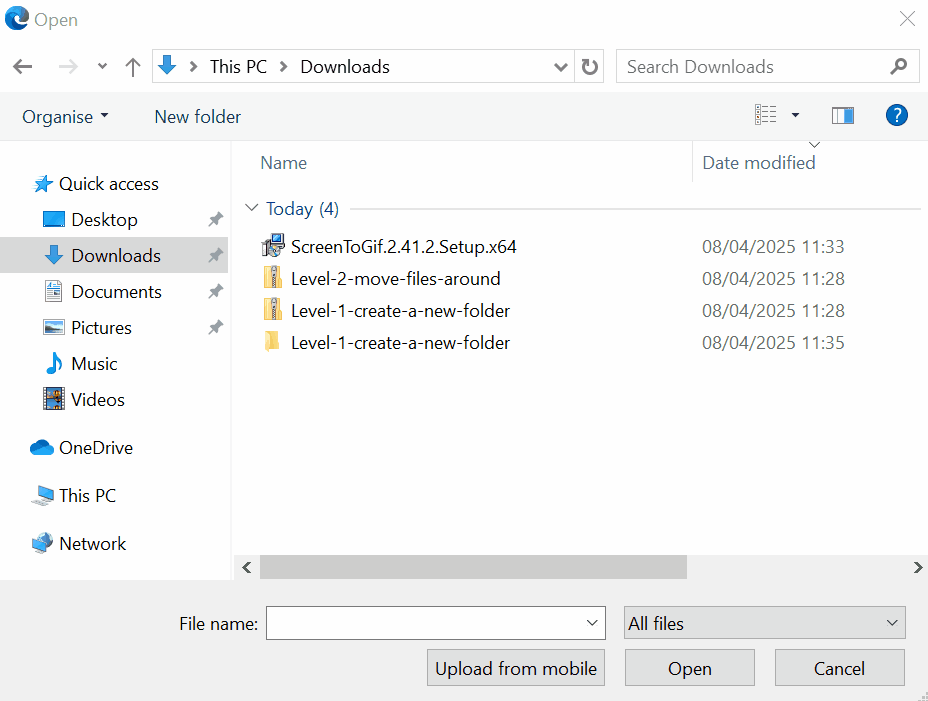
As you might guess, the downloads folder is where all of your downloads go. The download we made earlier in section 1 is stored in your downloads folder. Have a look for it!

This folder is generally where a lot of the ‘stuff’ stays.

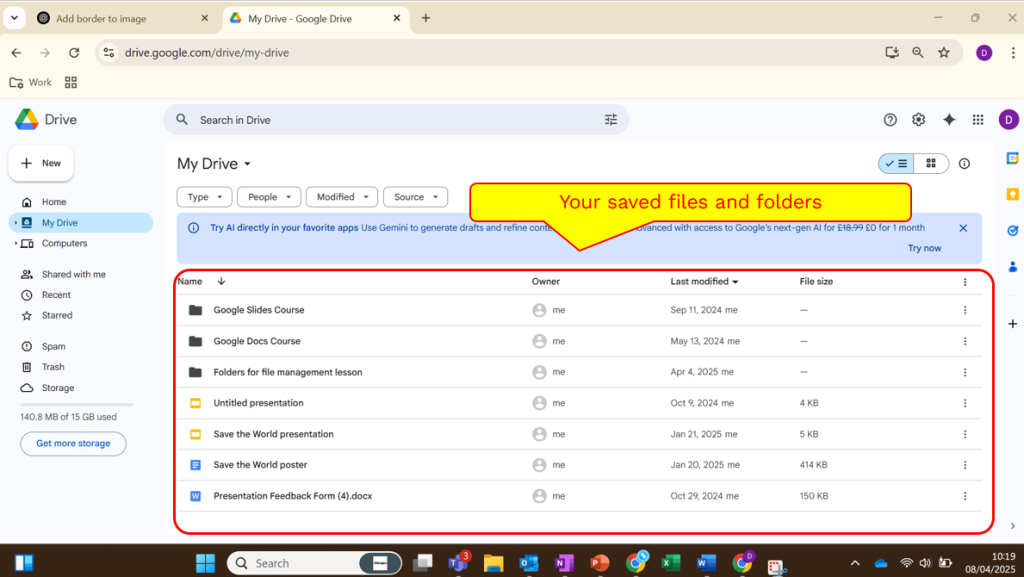
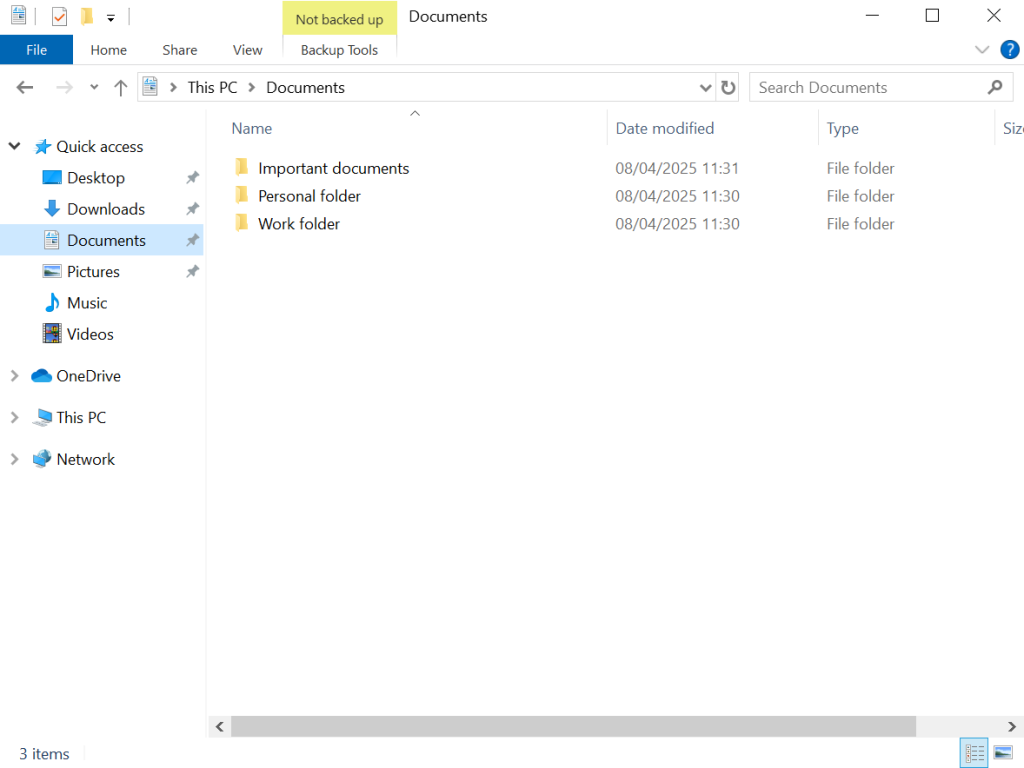
Your documents is really the best place to store your important files: the ‘needs’ and the ‘wants’. 

In the next section we will discuss organising your documents into a neat structure so everything is easy to access.

You’ve probably noticed several other folders, such as the Gallery, Music, and Videos folders. 

These generally don’t get as much use, mainly because there are better places to store these things. However, if you were to download some music or backup your photos, they would end up in these folders. 

Quick skill: Zipped folders

Without going into too much detail, the following exercise needs you to understand how to ‘unzip’ a folder. 

Web browsers are unable to download a folder directly, but they can download a zipped folder. Think of a zipped folder as you would in real life. The folder is zipped up when downloading for safekeeping. Once you’ve successfully downloaded it, you can unzip it and get to work.

How to unzip a folder:

To unzip a folder you have downloaded, you first have to find it in your downloads folder. Then, right click and select ‘extract all’. A new folder will appear!

How to organise your files

Next, we are going to go through how to move files around. There are a few skills we need to cover to do this. Click through the list below to explore:

To open a folder, simply double click on it. See below for an example:

To return to the page you were on before, you need to press the ‘back’ button. See the GIF below for how to do this.

An easy way to move files around is to ‘copy’ the file, and then ‘paste’ it in the location you want it to be.

This will create an exact copy of the file, so now you will have it stored in two locations. If you want to then delete it from where it was originally, you can do. 

  1. To copy a file, you need to right click on the file and click where it says copy. For a shortcut, select the file you want to copy and press CTRL + C.
  2. To paste a file, go into the folder you would like to paste the file in. Right click in the white space in that folder where nothing else is, and click paste. For a shortcut, go to the folder you want to paste in and press CTRL + V.

Sometimes its easier to just drag an item and drop it into a folder.

To do this, click on the file and hold down your mouse button. Then, while holding down the button, move your mouse/ finger to drag the file around. Drag it over the folder you want to place it in and let go. It will be deposited into that folder. 

If you want some extra practice dragging and dropping, try out this online game: Jigsaw Planet 

To create a new folder, right click in some of the whitespace where you would like the folder to be and select New > Folder.

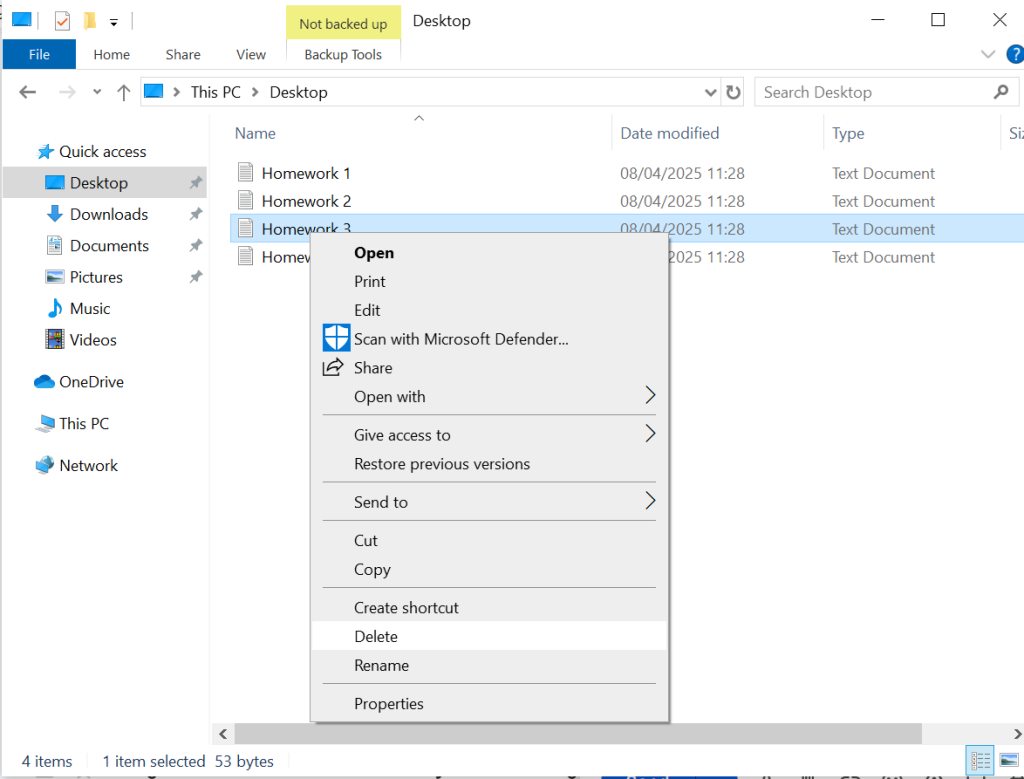
To delete a document, right click on it and select delete.

Practice activity:

Below are 5 download buttons. Each download button will download a different folder. Your task is to follow the instructions provided to organise each folder. 

The tasks get more difficult as you go on, and level 5 is really tricky. Don’t be alarmed if you find it challenging – its mean’t to be.

Level 1: Create a new folder

To complete this level, you need to create a new folder. You can name it whatever you like.

Level 2: Move files around

To complete this level, you need to create a new folder with an appropriate name for the files. Then you need to transfer the files into that folder somehow.

Level 3: Group things together

To complete this level, you need to create multiple folders, give them appropriate names, and then transfer the files into the correct folders.

Level 4: Create a hierarchy

To complete this level, you will need to create a hierarchy of folders. This means folders within folders!

First, create three folders. One called ‘invitations’ one called ‘school,’ and one called ‘work’. Then, move the files into the right folders. 

Once you’ve done that, go into the school folder and group the files together like in level 3.

Level 5: Organise your files

This level its over to you! There is a big mess of files here with lots of different possible categories. 

Try to come up with some basic categories that can you can split things into. Work, housing, personal etc. are suggestions, but you don’t need to stick to those if you can think of a better way!

To complete this level, you will need to successfully organise this folder!

Section 3: Uploading


What is uploading?

Uploading is the opposite of downloading. It is when you copy data (e.g. a file, programme, image, etc.) from your computer onto the internet. 


When would you upload?

You will need to upload documents at many points in your life. It is a really important skill. For example:

  • Uploading evidence to support a repair request.
  • Uploading your CV or cover letter in a job application.
  • Uploading your fit note to your Universal Credit account.
  • Backing up your important files (e.g. to a cloud server like the Google Drive)
  • Posting photos on social media

And many more!

How do you upload a file?

You only need to upload a file when you are prompted to do so. 

  1. Click the button which says ‘choose file’ or ‘upload file.’ This will open your file manager.
  2. Select the file you want to upload.
  3. Click where it says ‘open’ and the file will be uploaded. This may take a few seconds.
 
Let’s give it a go with the form below! Choose any old file on the computer you are using. If you don’t have any files, choose one of the ones you downloaded in the previous section.

Task: Upload one of the files you downloaded in the section below. Remember, you can only upload files, not folders.

Section 4: Cloud Storage

What is the cloud?

The 'cloud' is a term that refers to any (digital) storage space that is not on your computer but is hosted by an organisation. For example, when you save something on Google's cloud server, the Google Drive, the file is not saved in your computer's storage but instead in a huge data center somewhere in America.

Basically...

The cloud is just like your file manager, only you access it via the internet. 

Why is this useful?

The cloud is useful for a few reasons. 

  1. It enables you to access your files from any computer. 
  2. You can recover your files if you lose or break your device.
  3. Items saved on the cloud do not take up memory space on your device.


The only downside of the cloud really is the cost. To have a significant amount of files downloaded on the cloud (15GB+) will require the payment of a monthly fee. 

Who are the big cloud companies?

Google Drive

One Drive (Microsoft)

Amazon Web Service

iCloud

Dropbox

Just like in the email section, we are going to focus on Google product. This is because Gmail is the most common email, and if you have a Gmail account you automatically have a Google Drive.

Getting started

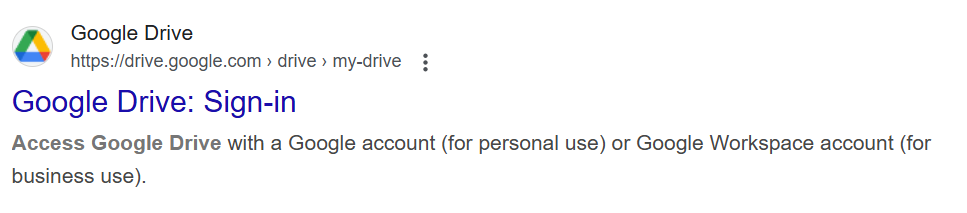
You can access your google drive by clicking the following link: https://drive.google.com/drive/my-drive

You can also get there by typing ‘Google Drive’ into your search bar and clicking the following link:

Click here for information on creating a Google account. 

The main features of the Google Drive

Scroll through the images below to view the main features of your Google Drive account. It is helpful if you have your own account open alongside to double check. If you are working with a different cloud provider, try to find the equivalent tools on your account!

How to organise your files on Google Drive

Like before, we are going to learn how to move your files around. Then, we will follow with an activity to practice your skills!

To open a folder, simply double click on it. Same as with your file manager

To go back, select the ‘back’ button as you would on any website. This will take you to the page or folder you were at just before.

An easy way to move files around is to ‘copy’ the file, and then ‘paste’ it in the location you want it to be.

This will create an exact copy of the file, so now you will have it stored in two locations. If you want to then delete it from where it was originally, you can do. 

  1. To copy a file, you need to right click on the file and click where it says make a copy. This will create an identical copy of the file and automatically paste it in the same folder.
  2. If you want the file to be copied to somewhere else, you then need to move this copied file to the desired location.

Sometimes its easier to just drag an item and drop it into a folder.

To do this, click on the file and hold down your mouse button. Then, while holding down the button, move your mouse/ finger to drag the file around. Drag it over the folder you want to place it in and let go. It will be deposited into that folder. 

If you want some extra practice dragging and dropping, try out this online game: Jigsaw Planet 

To create a new folder, click the ‘New’ button in the top left corner and select ‘Folder’

To delete a document, right click on it and select move to trash. To recover it, you will need to go to your ‘trash,’ find the file, right click and select ‘restore.’

Practice activity:

Just like before, we are going to practice. The activities are actually the same, but we’re just looking to get you comfortable with using Google Drive. 

To complete activities 1-3 below, you will need to complete a few steps first. These are great practice exercises for downloading and uploading, they are part of the task too!

Click the button next to each question to download the file. Then go to your downloads folder and find it. 

Right click on the ‘zipped’ file you have downloaded, and click extract all. This will extract the folder into your downloads.

Go to Google Drive. Click new then folder upload, Find the folder you just extracted and select it. Click upload and after a few seconds it should appear in your my drive section of your Google Drive. 

Using the tools you learned above, complete the below activities!

Level 1: Move files around

To complete this level, you need to create a new folder with an appropriate name for the files. Then you need to transfer the files into that folder somehow.

Level 2: Group things together

To complete this level, you need to create multiple folders, give them appropriate names, and then transfer the files into the correct folders.

Level 3: Create a hierarchy

To complete this level, you will need to create a hierarchy of folders. This means folders within folders!

First, create three folders. One called ‘invitations’ one called ‘school,’ and one called ‘work’. Then, move the files into the right folders. 

Once you’ve done that, go into the school folder and group the files together like in level 2.